December 7, 2016
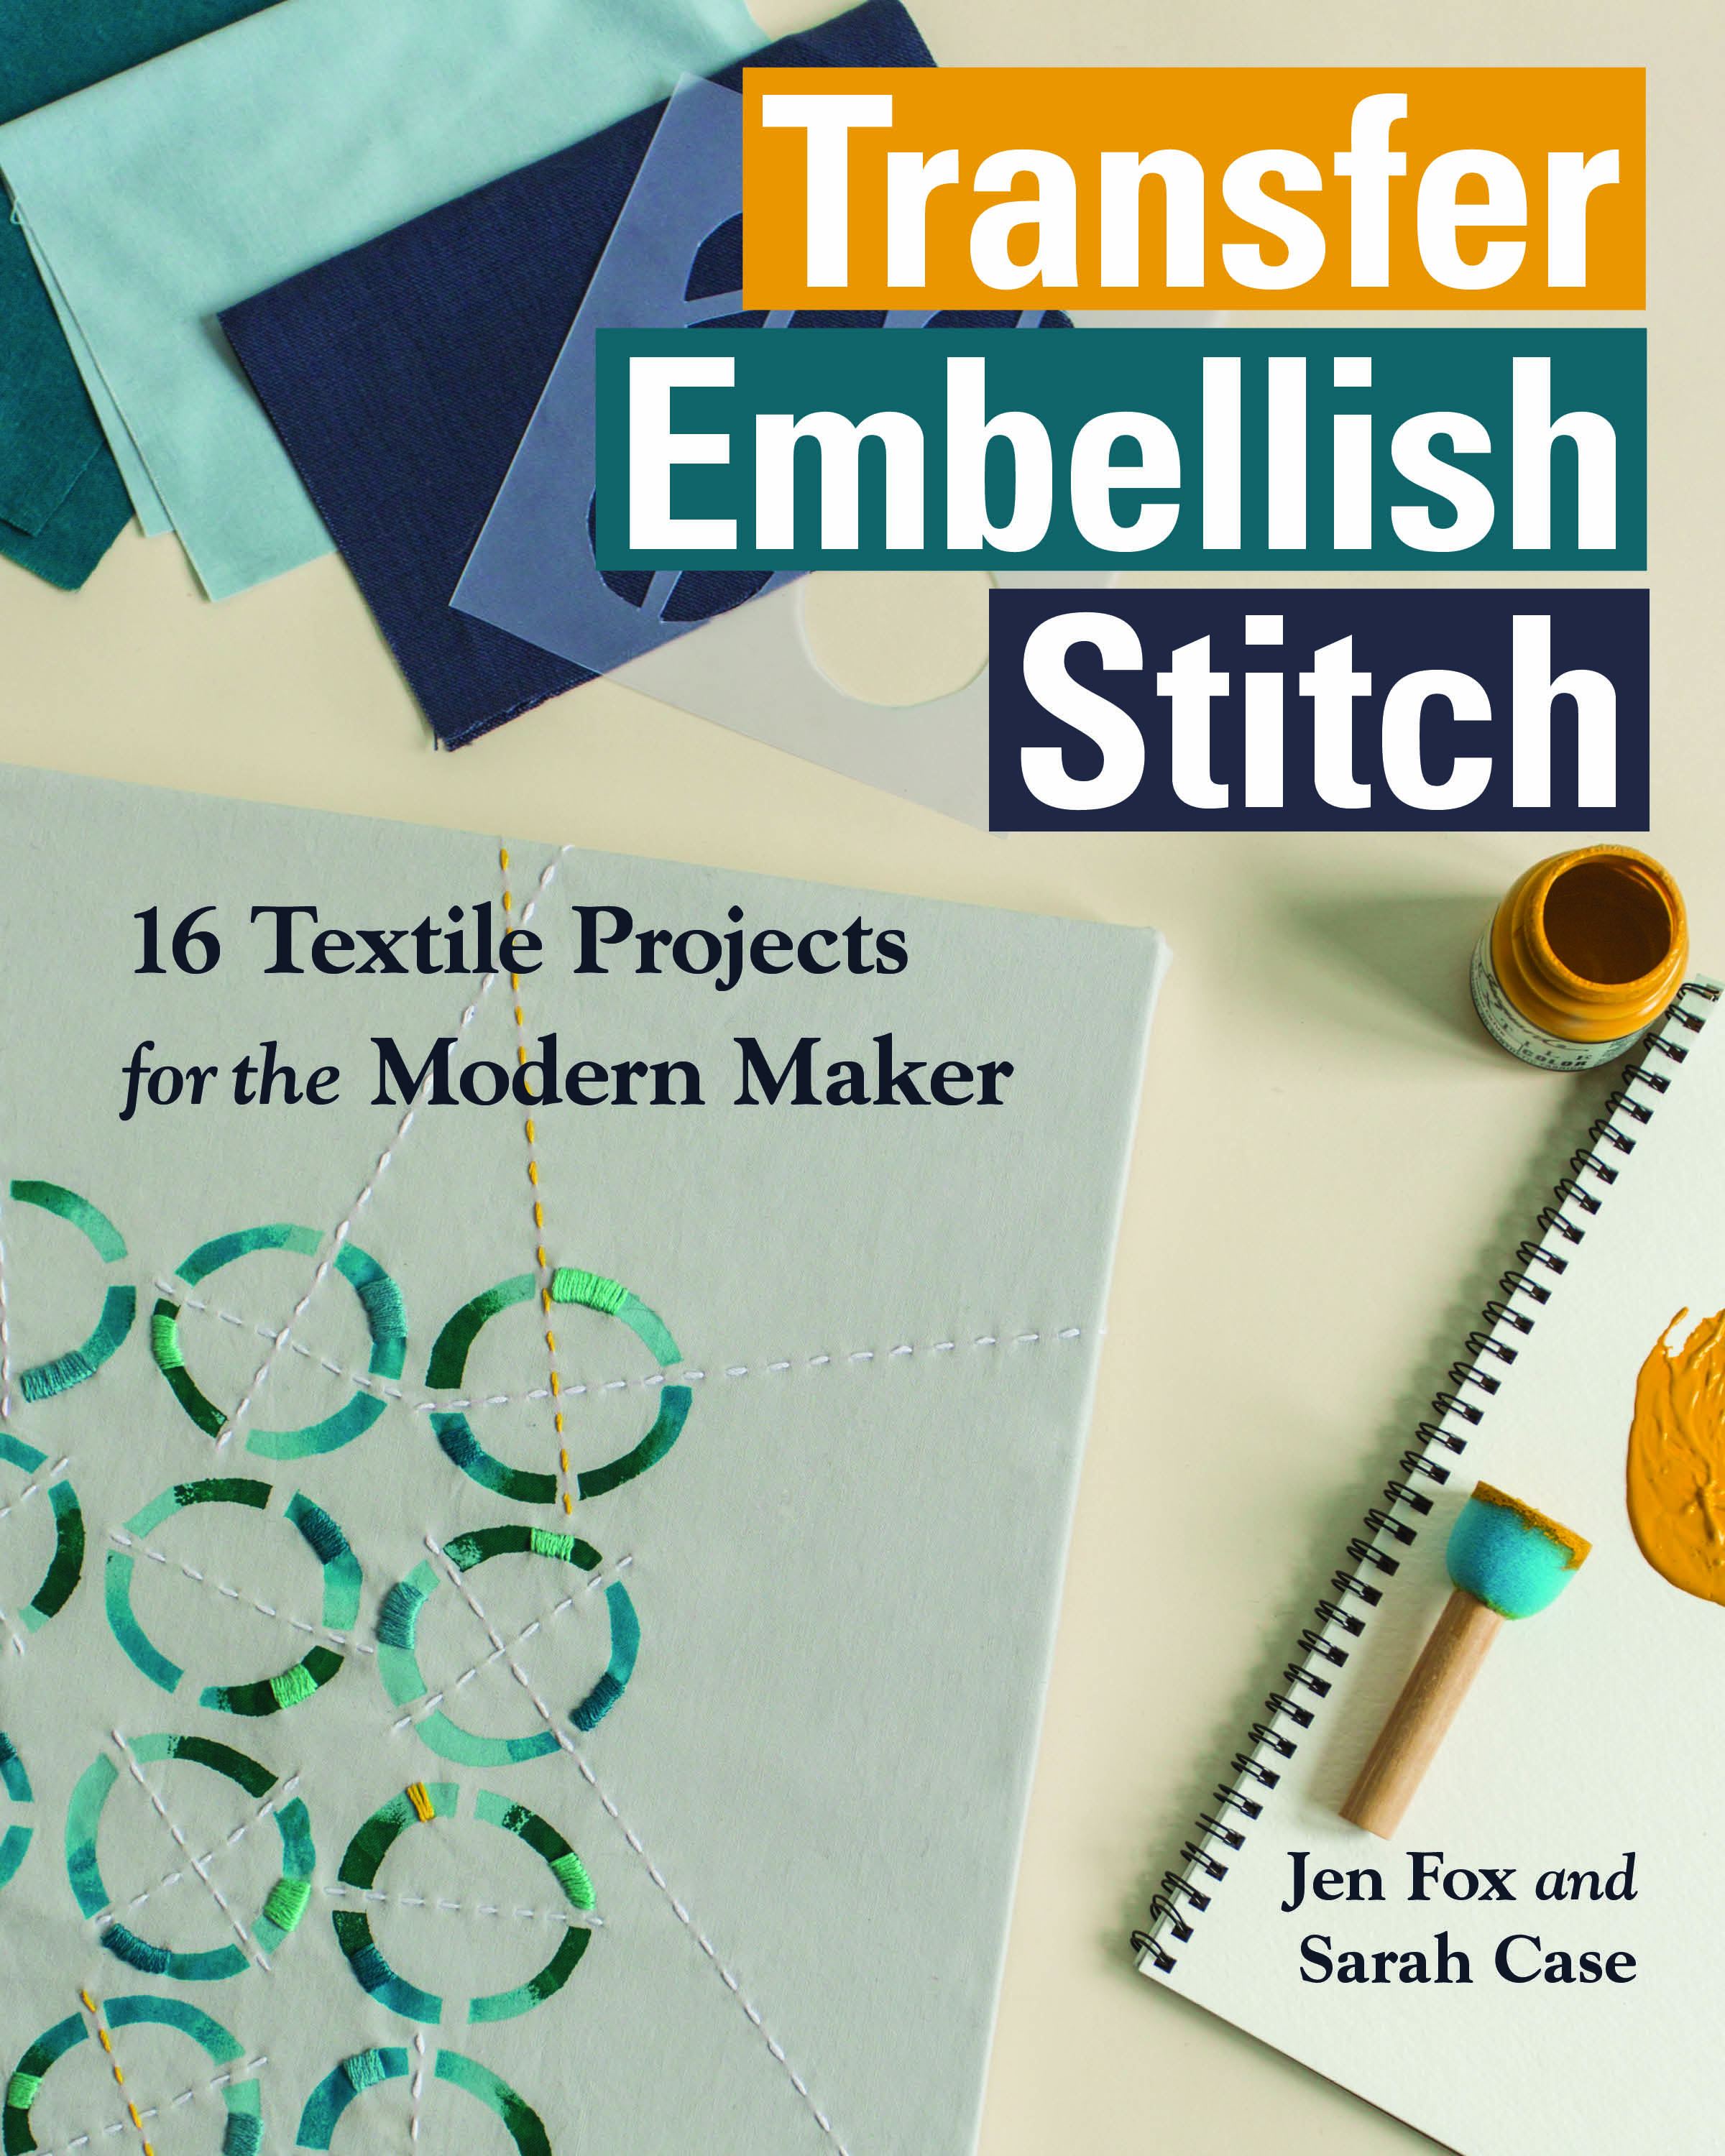
Transfer Embellish Stitch
Greetings, Earthlings,
We have taken your leader. Fear not. We do not intend to destroy your fabric stash, sergers or craft rooms; we only … What do you mean she’s not your leader? … Ok, we’ll do a few tests and toss her back. In the meantime, enjoy…

Jen Fox and Sarah Case here to talk about one of our favorite projects from our new book “Transfer Embellish Stitch: 16 Textile Projects for the Modern Maker“. We are so excited to share this project from the book, which just came out in October with C&T Publishing / Stash Books.

Our book is based on the idea of taking a motif and transferring it onto fabric using a variety of methods (freezer paper stencils, plastic stencils, fusible web, and embroidery transfer paper) and then embellishing the project with a technique such as fabric paint, deColourant, embroidery, appliqué, and reverse appliqué. We provide motifs on a full sized pull out in the back of the book, and we encourage thinking outside the box and mixing and matching the techniques to create a project that is unique to you!

A display of book projects at a local fabric and quilting shop.
Transfer Embellish Stitch has three different categories of projects: Wear, Live, and Give. The storage baskets are in the Give category — they would make such a great gift, either on their own or to hold other gift items as a gift basket. The baskets are so versatile and can be used to corral bath items, small toys, crafts, and more! Think toy cars, balls of yarn, fabric precuts, crafts in progress, socks, hand towels… the list goes on.

The Orbit Storage Basket project from the book Transfer Embellish Stitch.
In the book, we use the “orbit” motif for our baskets. You can use any one of the motifs from the book, or make your own. The orbit motif is repetitive, and can easily be modified to wrap all the way around the basket. Or, choose another motif from the book, and feel free to rearrange elements from the motifs to create your own design, or just use parts and pieces from a motif.

A student makes her own winter themed motif. The top shows her cutting the design out of freezer paper, below is the painted canvas fabric.
The project shows how to make a stencil out of freezer paper. If you haven’t tried this before, it’s an inexpensive and easy way to make a stencil. You trace your design onto the dull paper side of the freezer paper, cut out the pieces to make a stencil, and then iron with the plastic shiny side down on your fabric. The freezer paper sticks to the fabric so that when you paint your motif, the edges stay crisp and clean.


We love the idea of making multiples of the basket and color coding them for different storage needs. You can even get creative with the motifs and make your own custom stencils following the instructions in the book.


Recently, we hosted a class and each person made their own basket. We loved seeing how some people used the motifs we provide in the book exactly, some modified or only used portions of the motifs, and some created their own motifs.
How would you use this storage basket? What motif would you choose, or would you make your own?
Thank you for joining us today to learn about this project from our new book, Transfer Embellish Stitch! You can learn more about us by following the links below.
Instagram:
@case_and_fox @jenfoxstudios @sarahcasedesign
Websites:
www.jenfoxstudios.com
www.sarahcasedesign.com

Hey! what day is it? And why am I feeling so delightfully woozy? … alright, whoever took my amygdala, give it back right now!

PS. Thank you Sara and Jen for this introduction to your book. Love it!
PPS. I’ll be back with my unembellished story of embellishing.
Tags: applique, book, customize, embellishment, embroidery, fabric paint, fabric transfer, freezer paper, stencil
May 26, 2016
Crushing
Holy Cannoli! Because I didn’t have enough good stuff on my plate, I had to volunteer to host* this week’s DIY craft party of total awesomeness. It’s week #34 and we need to top all the yumminess we dished up during week #33. If you missed it, you can take a trip back in time to sample last week’s delights HERE. Two DIY’s will get featured in each week’s party so bloggers link ’em up, and readers follow the party bus and have fun finding new DIY inspiration!
Tags: DIY, do it yourself, link party, Pinterest
February 26, 2016
Trying Something (Sorta) New-ish — February

What does your brain need you to try?
I took on this challenge at the start of the year and didn’t quite get around to the English Paper Piecing I planned to learn for January. I just wasn’t motivated enough to make a bunch of hexies, because what will I do with hexies? And I spent most of the month in my doctor’s office anyway. She sends her regards.
This month, the theme was to try something tactile, like pottery, soap or candlemaking. I had really hoped to resurrect Patrick Swayze for one last dance around the pottery wheel, but alas! I had no clay to get dirty with and all of Montreal’s mud is frozen solid in February.
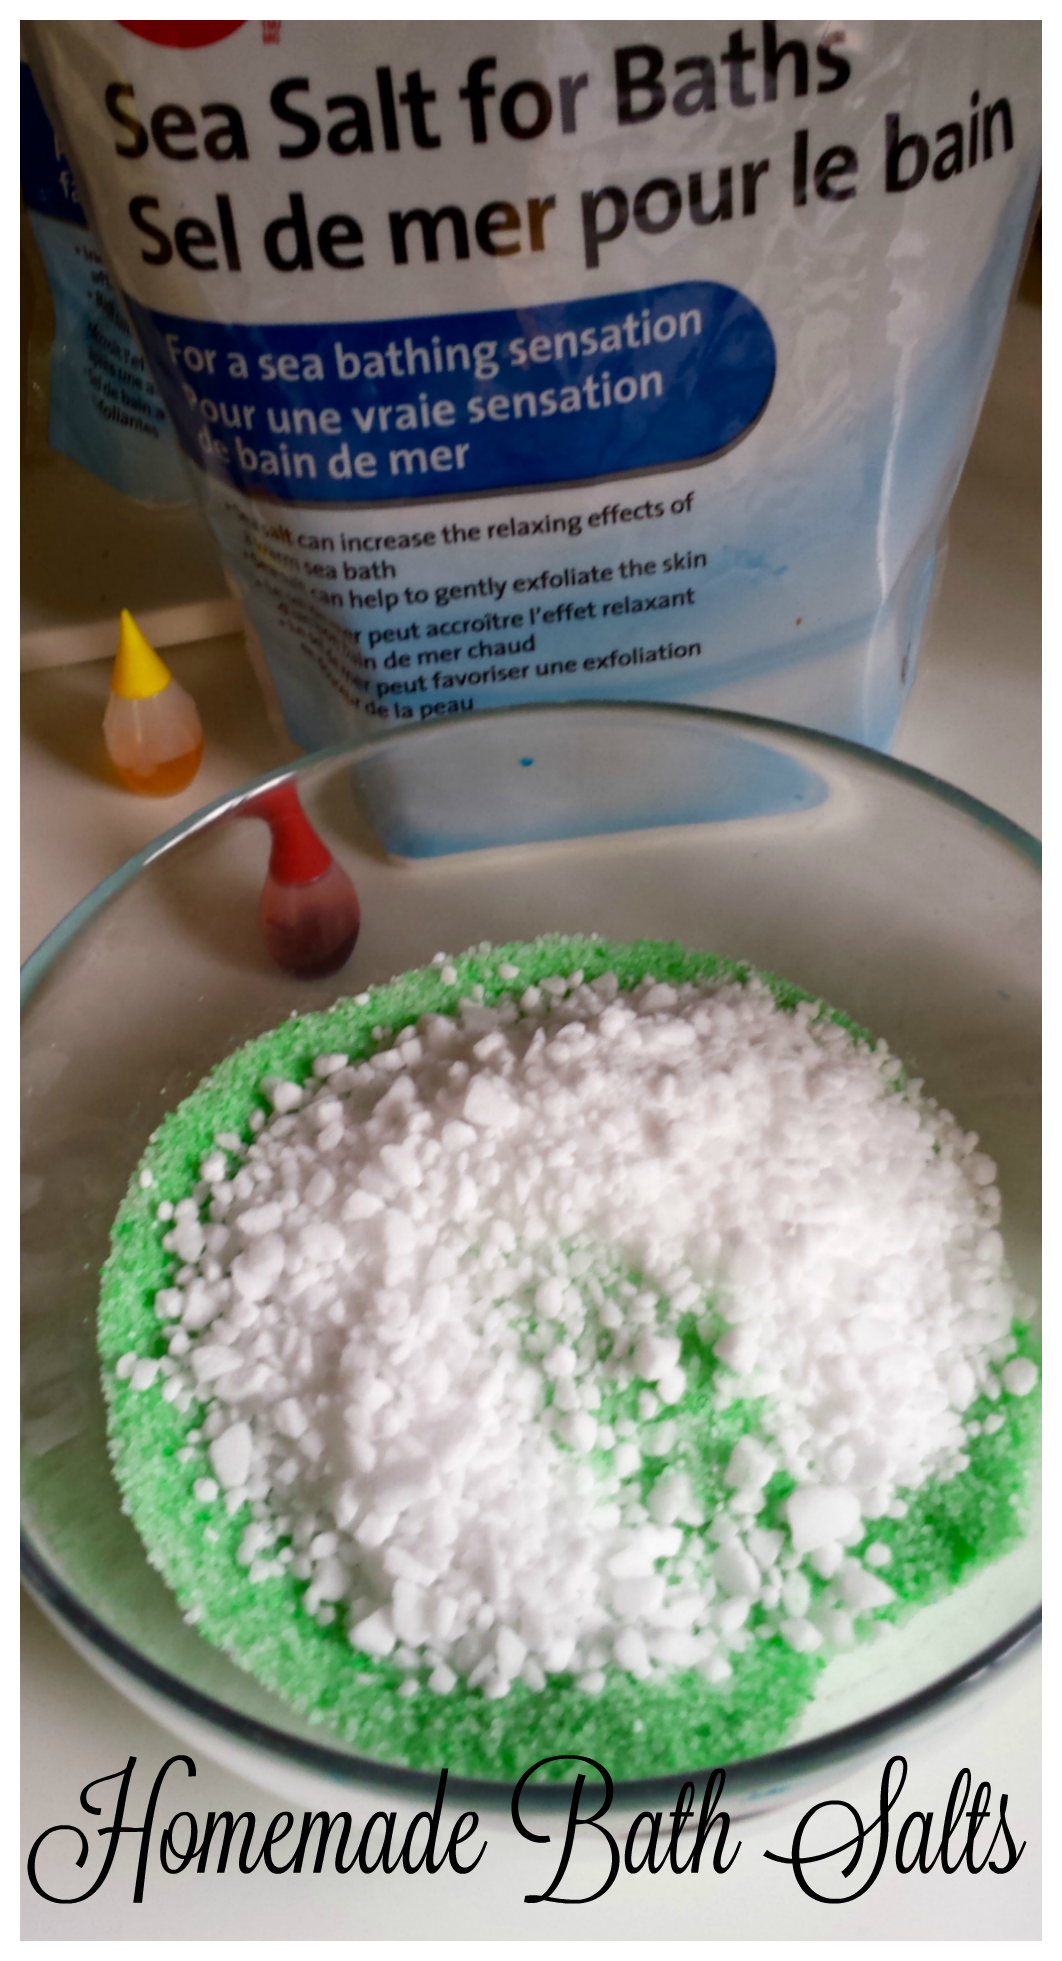
With pottery fantasies no longer being an option, I scaled back on the goal and cleaned up my act with something I had tried once before: Homemade Bath Salts.

Ingredients
The setup here is very important. Even if you forget one of the ingredients and have to run out to the store after you’ve started, that’s better than forgetting to pour yourself a glass of Moscato. See how I’ve got wine but no milk powder?
So, for approximately 4 cups (1 litre) of this yummy me-time goodness, here’s what you’ll need:
- 1.5 cups sea salt
- 1.5 cups epsom salts
- 0.5 cup powdered whole milk
- 0.5 cup baking soda
- 24 drops of essential oil (I made 3 separate batches: Lavender, Eucalyptus, and Rose)
- Food colouring (Optional, but it keeps me from opening all the jars every time I want to take a bath.)
- 1 large glass or ceramic bowl (No need to worry about food contamination because all of this stuff is ok to consume in small amounts.)
- Mixing spoon or spatula (Did I really have to tell you this, as if you were planning to mix it with your thumb?)
Step 1: Pour the Moscato and take a few sips. (Pretty obvious!)
Step 1.5: Dash to the store for the powdered milk. My store was out of whole milk and I had to buy the skim crap. At that price, I want fat in my milk!! [Insert childish tantrum here.]

Ingredients: Take 2
Step 2: Mix together the baking soda and milk powder until you run out of lumps to squash.
Step 3: Add epsom salts and mix well.
Step 4: Drink some more wine.
Step 5: This is where you get to play with colour theory. (Oops! this was supposed to be Step 2, but the disappearing Magic Moscato got me confused. Anyway, we can still make this work.) … Mix a bunch of your food colouring together until you get the nice pretty colour that lets you know at a glance which oils you put in your concoction. If you’re doing lavender scented salts, my sympathies; that shit will not come out with the right colour no matter what you do!
Step 6: Stir the dry mixture and the food colouring mixture together (makes no difference which one you did first) until the colour is more or less uniform. Do not add Moscato at this stage!

All done! Brrrrrrrr…
Step 7: Add the dili… dele… deely… yummy smelzing essential oil to your misccature and stir it, baking sherrr that you don’t splim… slip… spill any.
Step 8: Salt it! So, after the room stops spinning, put the course sea salt in and mix it up.
Step 9: Fill up the air tight jars (the ones I conveniently forgot to mention ahead of time) and label them if you skipped the food colouring.
Step 10: Go outside in -12C, wearing a tank top and house slippers to photograph your … scratch that! It’s just my curse.
That’s pretty much it. Now, I’d love to stay and chat with you a little longer but I have a hot date with a tub of veeeery hot water… and maybe another glass, but who’s counting?

PS. It’s ok if the cat drinks your bathwater. He’ll get over it after a few trips to the litter.
PPS. If the measurements are off, don’t blame me. It was the wine. But close enough is good enough.

Tags: bath salts, bathtime, experiments, homemade, Moscato, TSNEM
January 14, 2016
Crafting vs Aging: Challenge… Accepted!
No doubt you’ve read, or at least heard of, myriad studies on how learning something new or doing something creative affects mental health, energy, aging, etc… If you get your kicks from reading academic research papers, by all means, go ahead and look up scholarly articles on neuronal plasticity. Personally, I wouldn’t recommend it unless you really are looking for a brain hemorrhage.
One of my favourite bits on the subject of creativity (although slightly off my topic) is this one by Martha Beck. The woman cracks me up. But one very simple article that sums up the connection between aging well and trying new creative pursuits is this one from Psychology Today. Or check out this one without the annoying typos from a Reuters staff writer.
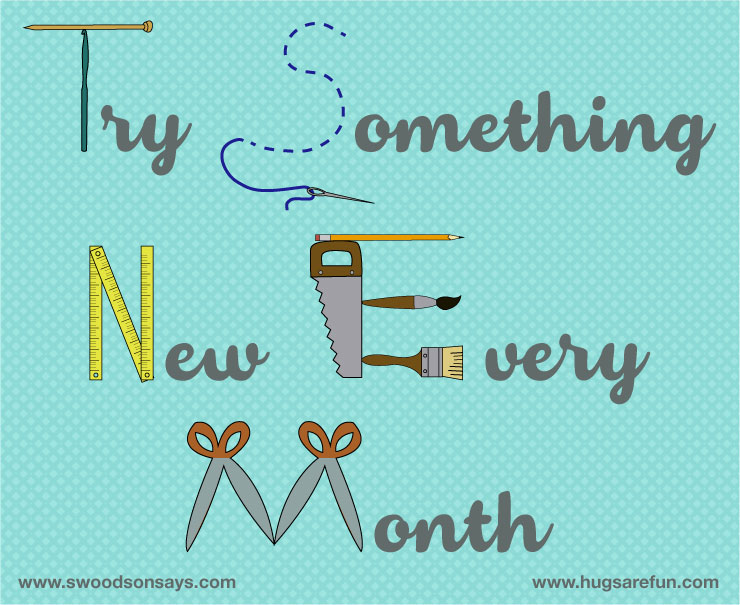
I’m all for learning new anything, anytime, anywhere — with a few exceptions. Anyway, I jumped in head first when I came across this collaborative challenge from Stephanie Woodson and company:

What does your brain need you to try?
The idea is to try a new craft or learn a new creative skill every month for 2016. Here’s the line-up…
January: Quilting
Ever since I saw someone post a gorgeous picture of a Runaround Bag* that she’d customized with English Paper Piecing (EPP), I’ve wanted to try something similar. Last week, I started with this short class on Creative Bug and came away thinking, “That’s all there is to it? It’s not as complicated as I thought!” Next I went looking for templates to use for my piecing. What is up with all the hexagons??? Don’t English quilters use any other shape? Downloaded this How-to guide and template from Craftsy anyway, but I am not making hexies! I want to make something original so I’ll have to draw some templates myself — maybe a cat shape. If I get it done by the end of the month, I’ll come back to post the results, but I’m not making any promises.
The rest of the year
February – Tactile Craft; paper mache, clay, soap, candlemaking, etc… I have all the makings for candles somewhere in a box, but I’ve already tried that and got bored with it. I also tried pottery way back in high school and presented my dad with a pen holder that leaned precariously to one side. But ever since Demi Moore and the muddy overalls (you know the scene!), I’ve wanted to give it another shot. Or I could just go bake some mud pies. We’ll see.
March – Painting. I’ll have to rely on my brilliantly talented BFF to teach me. Provided she’s recovered from the horror of my acrylic attempt.
April – Edible Crafts. Knives, mangoes, pineapples… this is not going to end well… On second thought, there’s a really cool class on Craftsy I want to take: Sugar Flowers! Um, yeah, still not going to end well.
May – Hand Sewing. I’ll take this month off, I think.
June – Heavy Craft: leather, wood burning, glass etching. Yes, yes YESS! Burnishers, chemicals, flame throwers… I can’t wait ’til June!
July – Yarn Craft: knitting, crochet, weaving. I will take this month off as well. Give my eyebrows and fingertips a change to grow back.
August – Printmaking: fabric or paper. I already started to collect my equipment and plan out the setup for screen printing. I watched these beginner classes with Hilary Williams on Creative Bug and can’t wait to give it a go. It’s gonna be like finger painting!
September – Machine Sewing. I’m sure I’ll find something new to do to my machine. But everything beyond here is too far into the future to plan.
October – Needlework: embroidery, cross-stitch, crewel, needlepoint
November – Papercraft: origami, scrapbook, calligraphy
December – Choose your own! Somebody’s asking for trouble letting a bunch-a crafters run about willy-nilly during the holidays.
Play with us …
What it comes down to is this: I don’t plan on letting my middle-aged body talk me into settling on the couch or getting into a comfortable routine. I have every intention of wrecking my nails with clay, sanding my fingerprints away and possibly losing the security deposit on my apartment. Because, well because, my neurons need more plastic. Join the craft war against aging and give your old brain a good workout to keep dementia at bay. The researchers and therapists say you should do it, so just do it!
Tell me in the comments what you plan to do, then head over to the special Facebook group to show and tell after you’ve done it. Or pick up some new ideas that would delight any first grader.
Meet you back here at the end of the month!

* The Runaround bag is one of 3 patterns included with this Zip It Up class.
P.S.
I started to draw my cat face template and this is as far as I got. Taz thinks he’s more qualified to do this than I am.

Taz wants to learn too
In case you missed it, this post contains affiliate links.


Tags: 2016, aging, challenge, craftsy, creative, CreativeBug, English Paper Piecing, learning, quilting
September 27, 2015
Steam Burns the Finger(s)
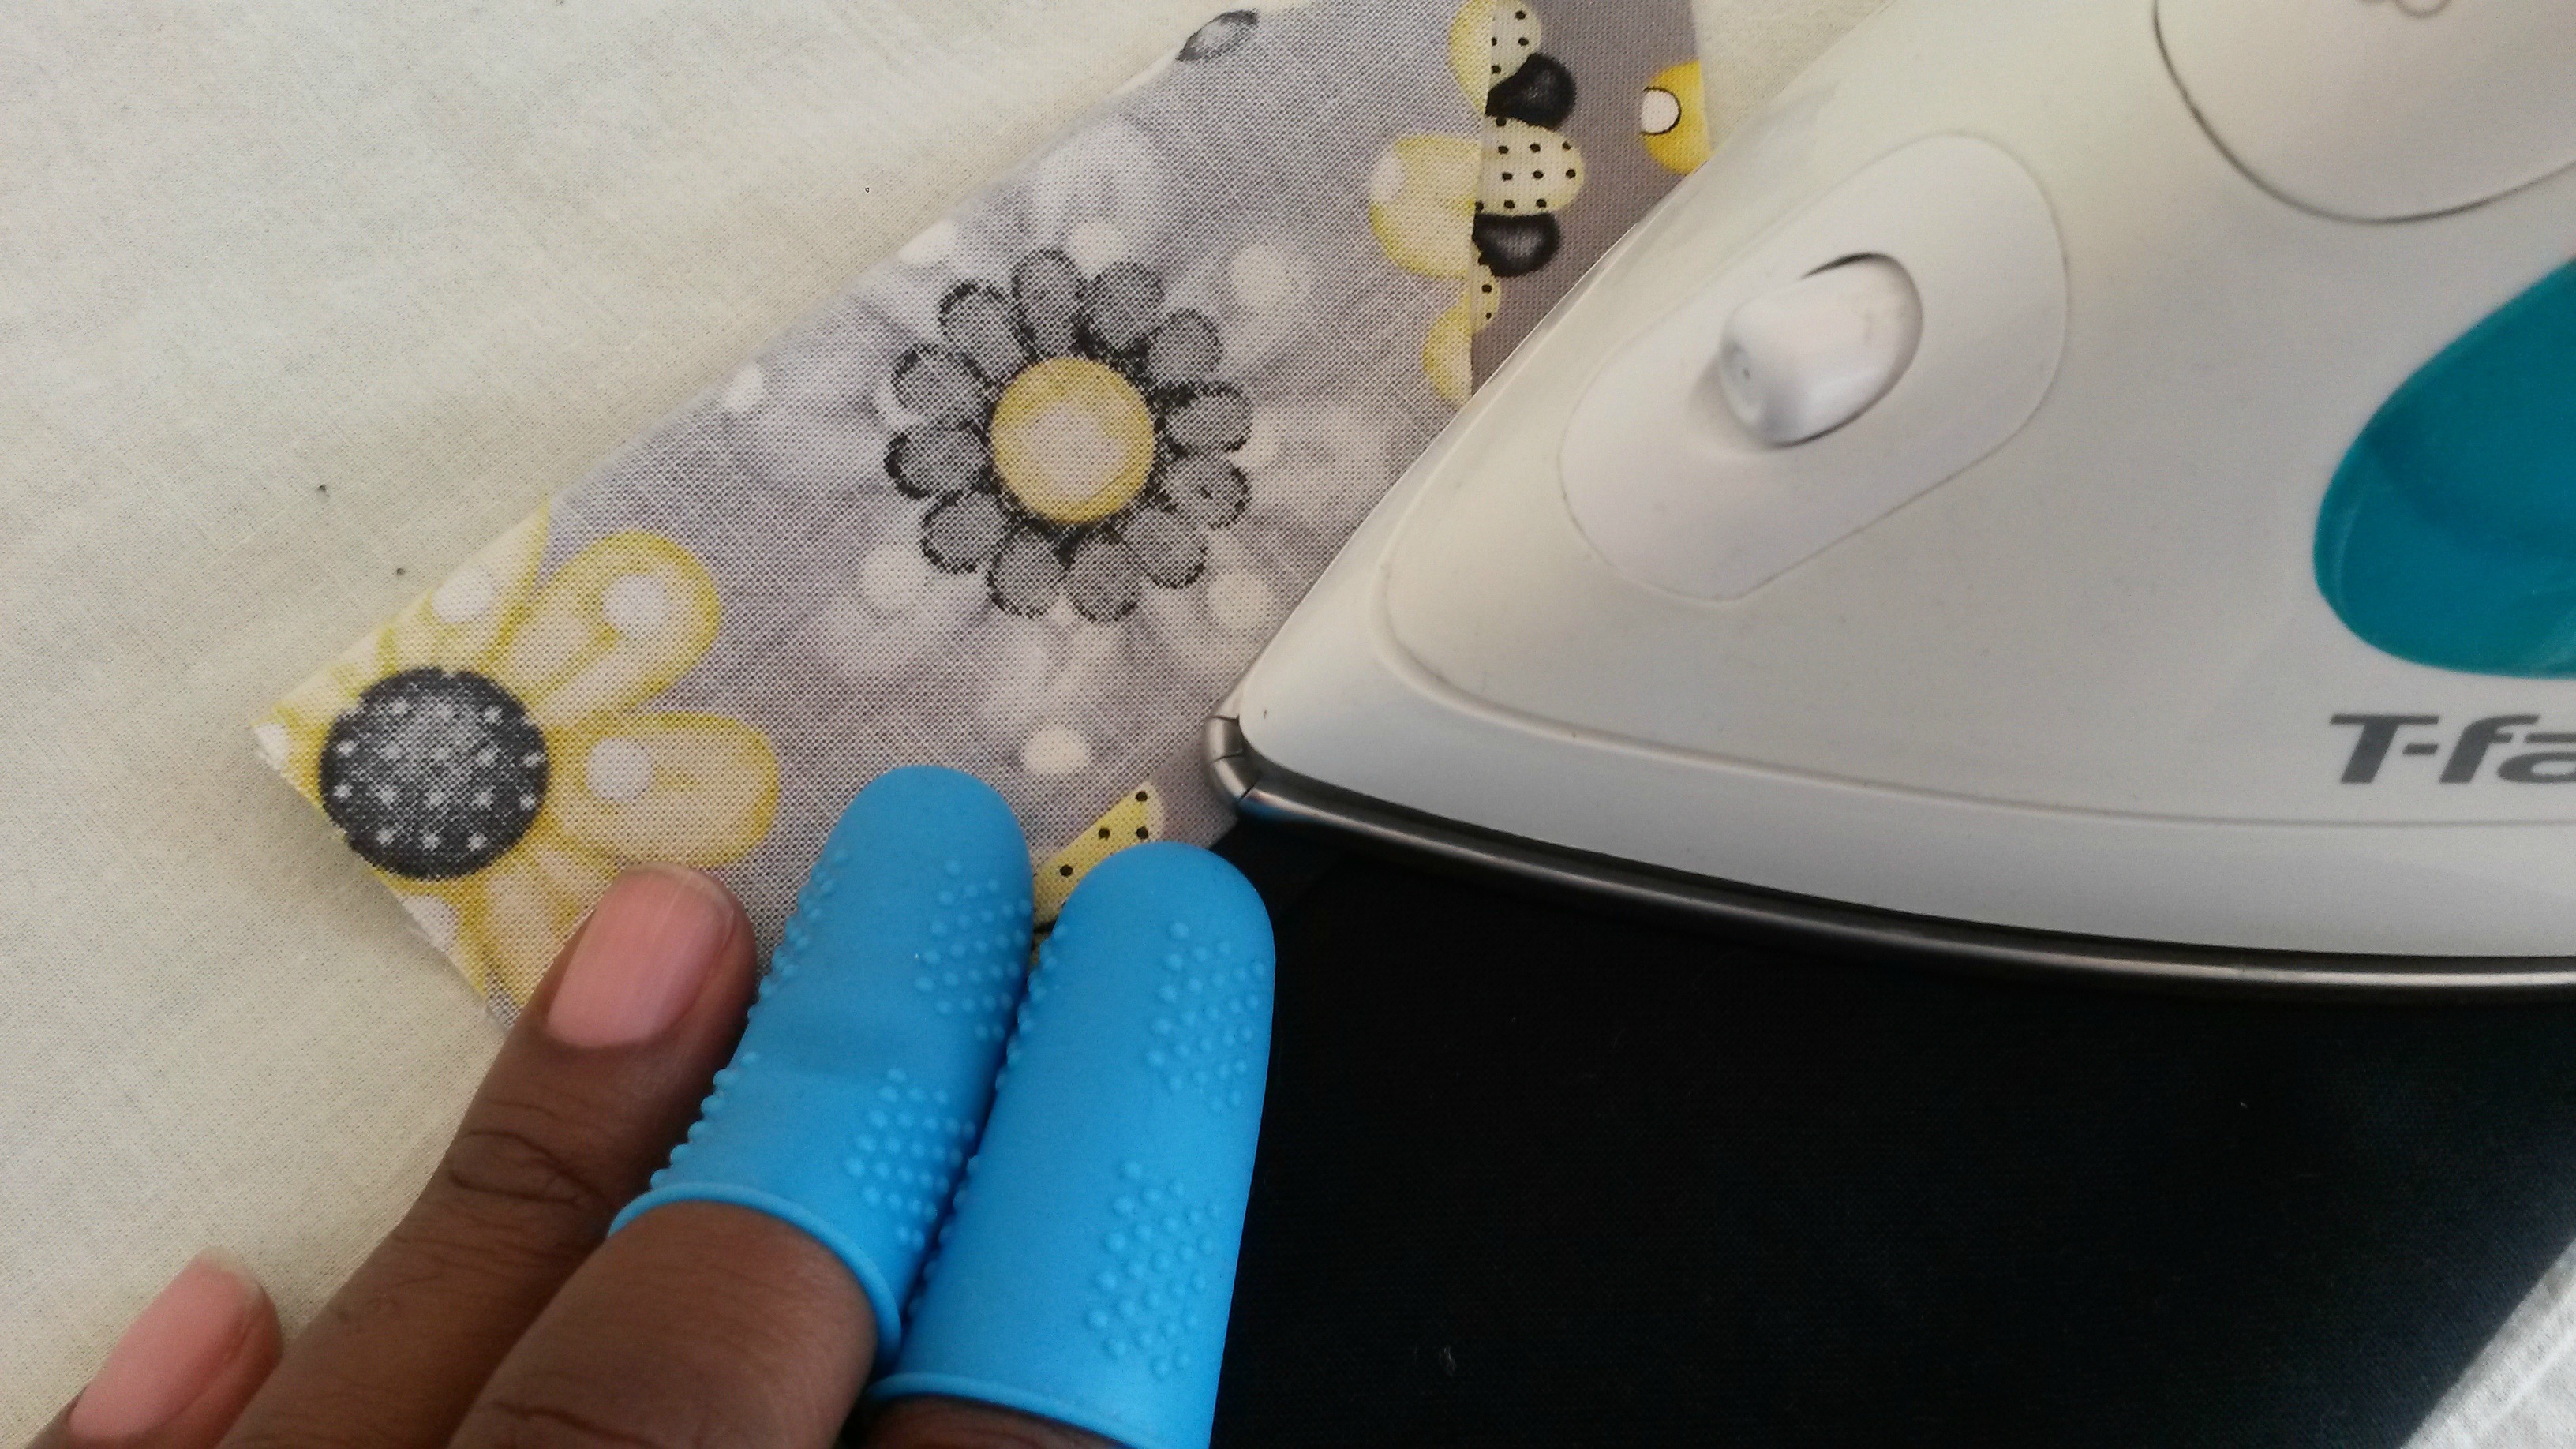
I’m a big fan of pressing all my seams while sewing. Huge fan! Pressing every step of the way is one of the keys to sewing crisp, high-quality items, but those steam burns are hell on your fingers. Especially when you work with small pieces like bow ties. And I’ve been known to let out a few expletives of 4 letters or more when my iron decides to shoot out a blast of steam just as I place my index finger on the seam. That means my swear jar filled up quickly. (Wait! Why do I even need a swear jar when I work alone and the money is going right back into my purse anyway?)

Then one day, BAM! I was watching a Craftsy class and the instructor demonstrated a tool for protecting your fingers. I paused the class and went to look it up online because I just. HAD. to. have. one. Turns out that whatever she called it wasn’t the correct name and I had to go digging through Google searches for “thingies to protect fingers from steaming iron”. (Try it.) I found a few cool gadgets and Clover makes some fantastic products like the Iron Finger. That name is just too much for my overactive imagination so I simply could not have it in my sewing room.

And then, there they were — the Dritz Thermal Thimbles. These were the ones the instructor used, and I ran (not literally, because I don’t run) down to my local fabric store to ask for them. I had to educate the staff because they’d never heard of them. I almost had tears of joy running down my face when I spotted them hidden amongst the pin cushions.

Now whenever the kitten hasn’t absconded with them for his teething, these little babies let me get my pokers right up close to the steam and control my itty bitty seams with cool confidence. They work wonders with protecting my fingerprints from a hot glue gun as well. I’ve cut my sewing and crafting profanities to about half since I got them. That is, when I don’t stick the wrong finger under the iron. Oh, &$^#!! (Another quarter in the jar.)
See you next time I have something important to tell you.

Tags: Ironing, steam burn, Thermal Thimble