January 4, 2018
Mom’s Wedding Dress

The Universe is messing with me, and that ish is not funny! Well, not that funny… yet. Let’s go all the way back to last May so I can tell you what happened…
My cousins in Jamaica invited my parents (his aunt and uncle) to their daughter’s wedding to take place in November. Yes, November. Mom said to me, “I have to get a new dress to wear to the wedding. If you can make me one, that would be so nice, but I can always go down to the mall and buy one.” (From now on, I will refer to said dress as the Wedding Dress, so try not to get confused. My mom was not the one getting married. Dad would surely object.)

It worked out that we had 6 months, yes 6 whole months, to find the material and pattern, and get my slow-ass self to sew it. Remember the wedding is still 6 months out. 6 months!!! … How many months?? You got it. S.I.X.
Oh! I need to mention here that I’m still terrified to sew with knits. Everyone tells me knits are forgiving. Toward me, they’re not. This will come back to bite me later in my story.
And the hunt was on for the perfect fabric and the perfect pattern. The fabric had to be bold, but not too busy; light but not transparent; good quality but not expensive. The pattern had a slightly longer list of requirements:
- calf length or longer
- pleats or gathers at the waist
- short to three-quarter length sleeves
- no frou-frou except ruffles; ruffles are always good.
- no elastic in the waist (on account of the heat and humidity)
- modest neckline
- large armscye (pronounced arm-sigh or arms-eye)
Long story short-ish, I searched through fabric store after fabric store in Montreal and online. I did find a very pretty coral linen blend at Fabricville/Fabricland’s website. But the last time I’d ordered from them, I got a piece of trash, so I couldn’t bring myself to click that checkout button without having had my hands on the fabric first. And that’s how an entire season and a half passed with no fabric purchase.
At one point I sent Mom a photo of a satiny embroidered blue thing, and she texted back, “You want me to wear ants to the wedding?!” I looked again at the picture and sure enough, bad lighting + bad angle + phone camera = embroidery ants.
While the great fabric quest was on, I bought several patterns, none of which was just right. That was from the myriad rejected photos of pattern covers I sent my mom. So, not much luck in the pattern department either.

These guys made it to the finals before they got cut
As a pre-emptive backup, I bought this Vogue pattern on sale, although I would have had to do some modifications. I love hacking bags and accessories, but I’m still insecure about hacking clothing patterns.

Still in the running (Photo credit: Vogue website product description)
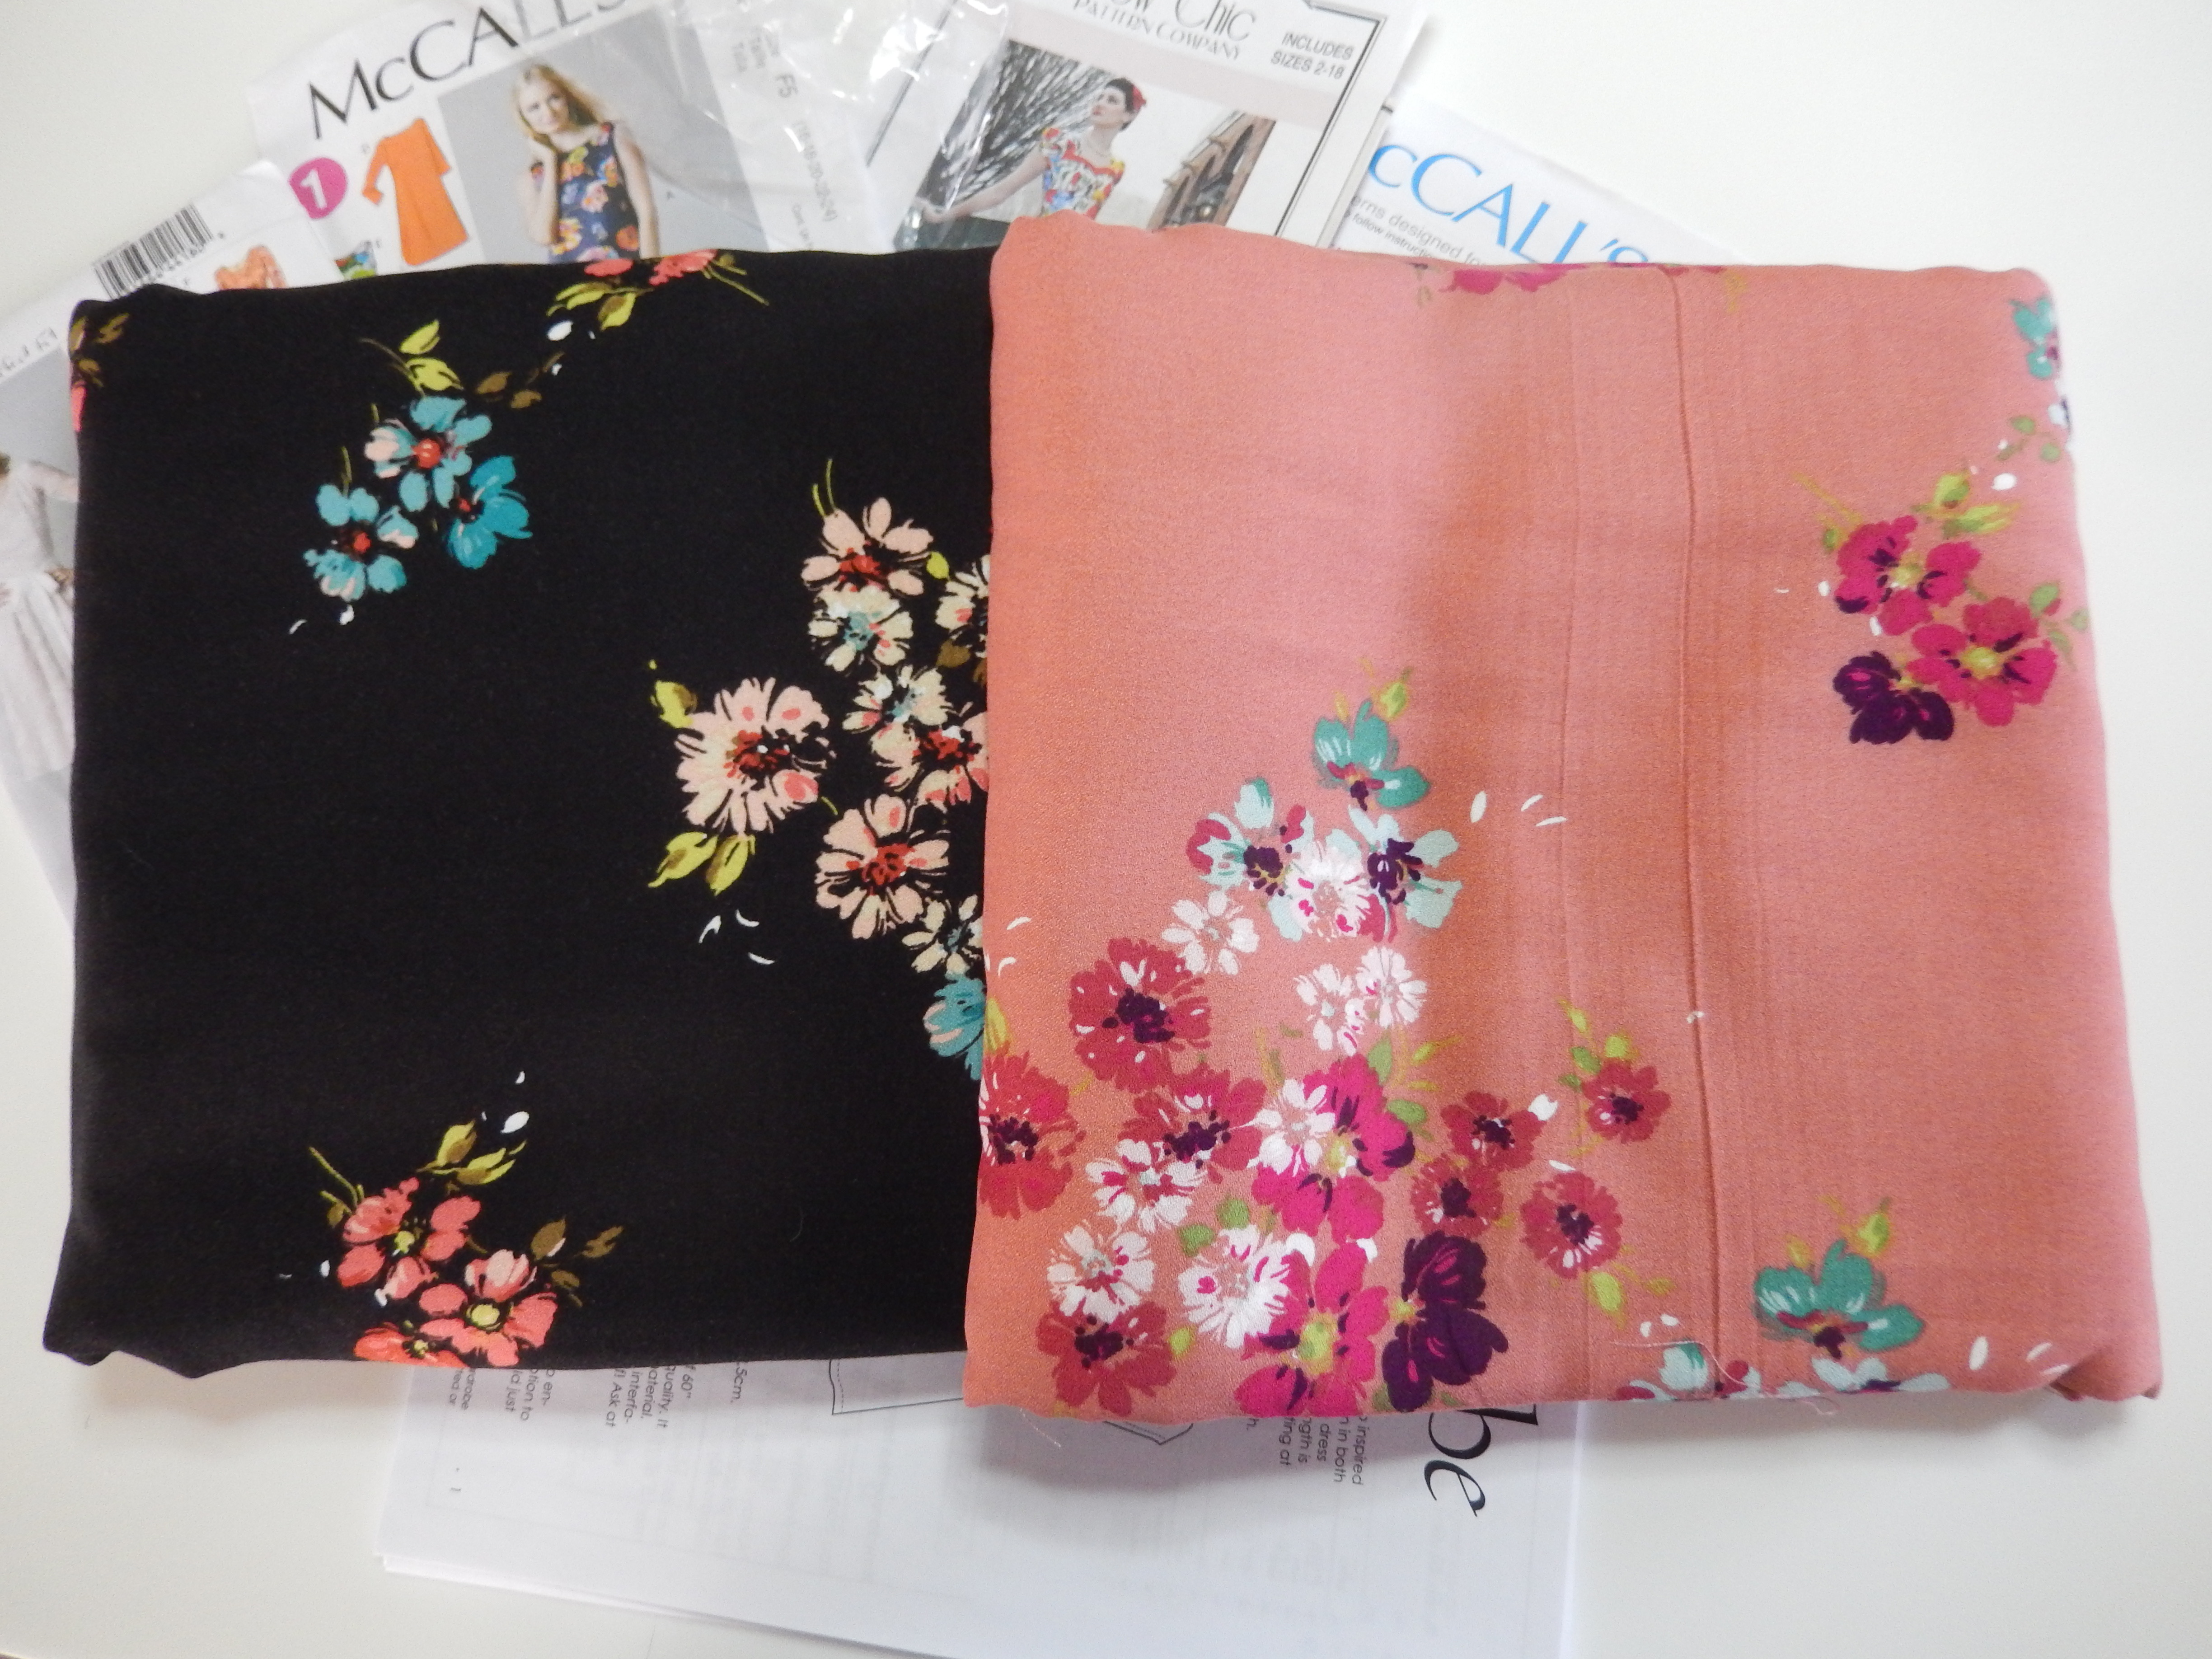
And then! Two things happened serendipitously. My BBF made some time to drive me out of town to Club Tissus, the huge fabric store in the middle of nowhere. Two hours later, after several mysteriously falling racks and a giggle-inducing “flipping” incident at the cutting table, I walked out of there with a lovely coral printed knit (remember I don’t do knits) and a couple more patterns that looked like they would work for the Wedding Dress (plus, you know, lots of notions I didn’t need.)

That rack didn’t see it coming!

One of the patterns bought at Club Tissus (Photo credit: McCall’s website product description.)
The second thing that happened right around then was that Blackbird Fabrics in BC got some new prints in stock and I fell in love with this pretty camel-coloured floral. (Yes, the colour is “camel” and not “caramel”.) Caroline, the owner, checked my pattern (the Vogue one above) and assured me that this adorable polyester crepe would work well with it. (Check out Caroline’s podcast at Love to Sew.)

Polyester just got delicious! (Photo used with permission of Blackbird Fabrics)

I love the content and care label attached. (All fabric sellers should do this, even when you buy in store.)
I had used fabrics from Blackbird before and loved them, so I was willing to put my Poly-Prejudice aside and trust that it would not behave badly like the traditional Poly-Crap. I ordered some.
There I was at the end of September with two acceptable, but not quite perfect, fabric/pattern combinations.
-

- Pattern and Fabric for WD1
-

- Pattern for WD2
-

- Fabric for WD2
I just needed to cut and sew, and my mom would have two dresses to choose from. I was feeling pretty confident. But, cats! (The least they could have done is make sure I didn’t get all blurry photos. Jerks!)

Rapscallions!

Helpers will help, and knits will flip.
And then I forgot to flip the pattern so I cut the left and right bodice the same. (What is up with this fabric and flipping, man?!?)

Two perfectly cut identical pieces

Forgot to flip the flip
They needed to be mirror image and wouldn’t you know it, I didn’t have enough fabric to recut the piece all in one. I had to resort to cutting up the pattern and cobbling pieces together.

Slashed pattern
Now halfway through October, I had to face the fact that I could only do one dress, if that. Hey! why not go ahead and pick the knit one that you have no experience with, Marsh? Yeah, let’s do that! (Mumble, mumble… stupid, uncooperative… mumble… slipping and sliding… flippin’…)
Then mom had a brilliant thought. I would do as much as I could in the time that I had, and she would take it to her very talented dressmaker cousin in Jamaica to finish. Whoohoo! She is so understanding, and it helped me feel a teeny bit better when I was only able to get halfway through the knit dress (McCall’s pattern) and got stuck because I couldn’t make heads nor tails of the instructions. (I did, however, keep track of the tops and bottoms of the pattern bits.)
I reluctantly packaged both un-dresses with the required notions and matching thread, and delivered them safely to Mom’s suitcase. Her cousin could figure it out from there. (Ok, I did feel a ton of guilt and shame, and general misery because I couldn’t deliver what I’d promised. Still not over it, but…)
So, the half-made Wedding Dress 1 and the un-begun Wedding Dress 2 got to the cousin. Cousin Jean didn’t have time to do both, but she agreed to finish WD1. But guess what! Mom tried on the pieces that I had already assembled and the flippin’ armscye was too small, aaaand there wasn’t enough leftover fabric to cut new sleeves. (Whaaaaa!) Skillful Cousin Jean found a solution (I have no idea what) and got it all sorted. Mom wore the imperfect Wedding Dress to the perfect tropical wedding mid-November. (No photos of the finished WD1.)
Now comes the twist to the plot. You thought the story was over, didn’t you? You know better…
Two weeks ago, I got the regular newsletter from Blackbird Fabrics. More new prints had arrived. And, in the mix, was a sweet little viscose thing in two colour ways. As soon as I saw it, I knew that was the perfect fabric we had been searching for. I sent the link to Mom and she squeaked with delight, at least I think it was a squeak. She agreed it was the perfect fabric. Too bad the wedding was 6 weeks ago.
-

- Isn’t this delicious? It’s like a strawberry-melon sorbet with candy sprinkles. (Photo used with permission of Blackbird Fabrics)
-

- The black is for my stash. (Photo used with permission of Blackbird Fabrics.)
Also last week, Patricia (naughty elf!) from Sew Far North got me looking at the Boxing Week sales at Designer Stitch. That’s where I tripped over this pattern, the Kristen dress. Are you freakin kidding me?
Let’s see… calf length? Can be arranged. Pleats or gathers? Check! Sleeves (not long)? Check! Ruffles? Yes! No elastic? Yup! Modest neckline? Present! And just look at the size of those armscyes! (You can’t really see the size of the armscyes so trust me, they’re big. I asked.)

Kristen dress in red. Oh myyyyyy!

Just look at those perfectly placed ruffles!
Other bene”fits” to this pattern: Princess seams and a choice of cup sizes — two things that help get the perfect fit.
I bought it! Now that I had the perfect pattern and the perfect fabric, Mom casually reminded me that her birthday is in 6 (that number again!) weeks. And guess what she wants. That’s right; she wants a Kristen dress made with coral Open Floral Viscose Crepe that is even juicier when you get your hands on it. Could this be my chance to redeem myself? Possibly.
Patricia frolicking in her version of the Kristen dress:
-

- Naughty elf
-

- Patricia frolicking
-

- in the
-

- Kristen dress
Don’t be fooled by her charming smile. She’s still a naughty elf!
So now on top of all the no-sew-slow-sewing that goes on around here, we’re adding a birthday dress to the pile. And Wedding Dress 2 is on its way back to languish in UFO purgatory with my other bright ideas.
Why, oh, why didn’t I find the pattern and the fabric last summer? It would have saved Mom and me a lot of angst, not to mention dough. I suppose I better get to printing and cutting so 6 more months from now, I’m not still working on the Birthday Dress. That would just be tragic.
Maybe one day next year I’ll think back on this and laugh and laugh… For now, Universe, you go right on ahead and amuse yourself at my expense.
Cheers

PS. Visit the Canadian Directory of Sewing and Craft Businesses
PPS. I loved saying, “the size of the armscyes.”
Note: Photos of the Kristen dress are all used with permission of Designer Stitch.

Tags: Blackbird Fabrics, crepe, Designer Stitch, Dress, Kristin pattern, wedding dress
August 21, 2017
Hey! Wash Where You’re Going!

To pre-wash or not to pre-wash? This question comes up almost daily in beginner sewing forums and chat groups. Everybody’s looking for a definitive answer that will close the case for good. So here I come to tell you: Wash where you’re going!

A good general rule of thumb is to do with it whatever it will go through in its lifetime. If it’s going to become a hobo bag that gets tossed in the laundry, wash it. If it’s going to get treated with Scotchguard and never ever come in contact with water, don’t prewash. If the garment is going to be dry cleaned, take the fabric to the cleaners. If you expect a teenager to wear it until it’s covered in grime and doodles then toss it in the trash, just go ahead and toss it in the trash… oh wait! No, I mean, maybe just pre-wash it because it will be the only time it gets washed.
But then you have all the exceptions…
Reasons to pre-wash:
- Allergies and sensitivities, yours as you’re sewing, or the customer’s. The sizing (liquid treatment) they put on new fabrics can wreak havoc with some people’s sinuses and skin.
- The ick factor. Where did the fabric come from? How was it stored? What else has been lying on it?
- Colour transfer. Indigo denim will rub off on other clothes and furniture if it isn’t pre-washed thoroughly. So will some of the hand-dyed exotic fabric. (I once bought a cute little cross-body bag from some village artisans in Vietnam. I came home with every article of clothing stained with a diagonal green stripe across my chest.)
- Preshrinking. It’s tragic indeed when you carefully make your garment or accessory, only to wear it once. Almost as cataclysmic as the time the new king-sized duvet cover became a queen.
Reasons not to pre-wash:
- You need the sizing to keep the fabric from becoming a Slip’n’Slide. Sometimes your satiny soft goodness can be unmanageable on the cutting board and machine, so it helps to leave the sizing in until you’re done working with it.
- You’re working with leather or one of its variations. (Do not ask me how I know!)
- Your washing machine is broken.
- Sheep shrink. But you can still have them dry cleaned. And if you’ve ever hand-washed a sheep…
- Laziness. (I haven’t confirmed this, but I heard it’s a valid reason. One that’s usually followed by regret.)
Personally, I won’t work with any fabric I can’t wash*. I love doing laundry. Good times.

Cheers
PS. I’m interested in hearing other reasons not to pre-wash. Do you have any?
* Exceptions include leather (oops!) and cork.
Tags: dry clean, fabric, laundry, pre-washing
May 8, 2017
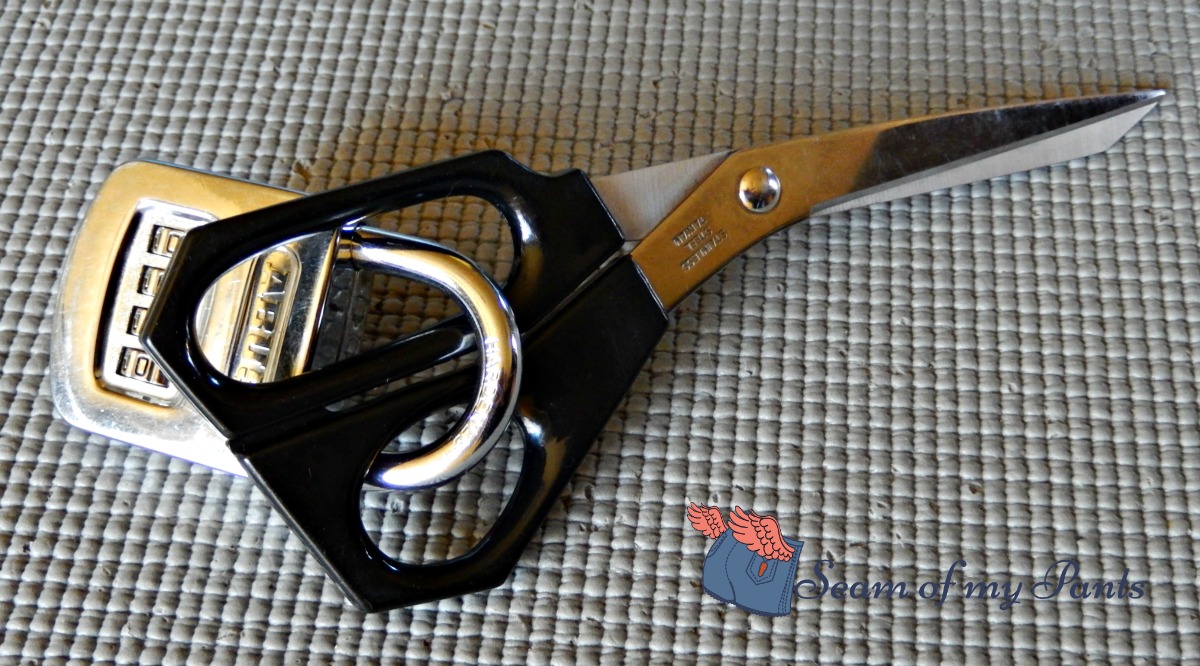
The Good Shears

Internet meme. Creator unknown, or else they would be credited.
I don’t know who the guy in the picture is or what TV show he’s from, but who’s gonna argue with him and his pistol? He and his buddies have been riding around the internet telling people that you can’t cut anything but fabric with your special sewing shears or the world as we know it will come to an abrupt halt.
Well, I’ve had it up to my hair roots with this scissor protectionism, which by the way, is similar to the one that hair stylists have about their “hair scissors”. (Something this dude desperately needs.) But hair stylists actually have just cause for inflicting egregious harm on anyone who cuts fabric or paper with their scissors. The design of hair scissors is different, and the construction methods do make them more fragile and prone to dulling.
Sewists have been making the same claim for I don’t know how long. Presumably, paper dulls the scissor blades more than fabric does. Why is that? Is there something to it? Is there any proof that the apocalypse is nigh if you should accidentally cut through your pattern paper with the good shears? It so happens that those assertions are mostly wrong. (I was going to say “horse caca” but you know, sensitive readers and all…)
I’ve spent over a year — off and on — trying to find some kind of evidence to support our righteous indignation at having our precious scissors sullied by the grubby hands of our spouses and children. This is the result of way too many research hours.
Content & Shape
(Kinda almost technical, so feel free to skip this section)
Aside from the plastic handles, scissors are made from 2 kinds of alloy. Carbon steel is 1% carbon and 99% iron, and plated with either nickel or chromium for rustproofing. Stainless steel has about 10% chromium added to to the iron and carbon to prevent rusting. (Yes, that required a little math.) Nothing exciting there, except that they amount to some pretty solid alloys that can stand up to a little pressed wood pulp.
I checked to see if the shape of the blades could have anything to do with the dulling. Let’s just say I got hopelessly lost among the German, Japanese, honed, non-honed, convex, bevelled, serrated, micro-serrated, and lord knows what else that had my eyes double-crossed. I’m not even sure any of us need to know that in order to buy and use quality scissors. But there it is! And no, the shape has nothing to do with paper vs. fabric either.
Primary Research
Like I said, I searched the internet for more than a year, trying to find some evidence that killing your family over sewing shears is justifiable. I couldn’t find much written about it so my friend, Rochelle, conducted some tests of various scissors floating around her house. I even asked someone I know with a Master’s in Mechanical Engineering. They’re not exactly the most scientific research methods, but I think quite adequate for these purposes. (I wasn’t about to set up a metallurgy lab for this. That’s going too far!) Anyway, here’s what we found.

Does anyone know the combination?
Findings
(Skip to this part)
The need to treat your shears like “The One Ring to Rule Them All“ (my precioussssss) is only a partial myth. I did find that it’s not a good idea to cut gummy, gooey substances like, um, glue… or tape. Obviously these will leave icky residue all over your blades. Then you’ll have something else to clean. It is also strongly discouraged to cut through hard metals with your sewing scissors. Try that and dull blades will be the least of your problems.
With regular (or irregular) use, there will be wear and tear on your scissors, no matter what you’re cutting. The harder the substance you cut through, the more dulling effect it has. That’s reasonable, right? So, some fabrics will actually dull your blades faster than paper. The fibres in silk organza, for instance, are stronger than those in paper and need more force to break… essentially, your kids cutting paper or cardboard doesn’t dull your blades any faster than you chopping up those old 1990s dungarees to make a handbag. It takes years to make any significant difference in sharpness.
What you do need to watch out for is someone using it to cut sheet metal in the garage. (Yes, husbands, I’m glaring at you!) This is just cause for hubby-cide, unless they take responsibility for getting them professionally sharpened again. Other metals and hard plastics will give your blades a run for their money.
Quality Test Results
Another thing I found was that there are crappy scissors, good scissors and great scissors. (No, no! You don’t have to tell me how smart I am.) And the brand doesn’t necessarily tell you much about the quality. (Check out the photos of Rochelle’s testing below and make of it what you will.)
Rochelle grabbed 3 pairs of the scissors she has about the house. One was a Kai that has been “used over 30 years as kitchen shears, cutting everything from fabric to plastic to wood to food to wire… used and abused, never sharpened”. The second is a 2-year-old Westcott that’s been used exclusively for paper. The third one… well, the third one should be used as a fireplace poker because it’s not cutting it as scissors.
Abused Kitchen Kai

Kai snips through one layer of knit fabric with ease

And it also cuts 6 layers with no problem

Now Kai zips through one layer of home decor fabric

Still easy going with 6 layers of home decor
Paper Westcott

Westcott paper scissors takes on one layer of poly knit.

Even 6 layers of polyester knit are still no match for the paper scissors

Westcott handles itself with one layer of home decor fabric

And Westcott scissors are still holding their own with 6 layers of home dec
The Westcott Poker

Rochelle: “Won’t cut Six layers stretch polyester, in one snip. Grabs and twists. (Ah, look at the gap in those blades!) Didn’t even mar the polyester snaggy fabric.”
Test conclusions:
“The Westcott had a crisper feel and sound, but both scissors cut equally well, no twisting or tearing. One snip went through fabric cleanly, no excessive pressure required.”
If two pairs of (the 3) scissors, at different price points, can perform so well after years of cutting everything but fabric, why are we so worried about using our special shears to cut out our patterns?
My own unbranded sewing scissors are 20+ years old and have been through some hard times where they were forced to go through paper, tape, plastic packaging, styrofoam, aluminum foil … Oh! And what’s up with people recommending that you sharpen your blades by cutting through aluminum foil? Isn’t that worse than paper? How can you sharpen and dull your blades at the same time? I’m not even going to hurt my brain thinking that through… Right! So, yeah, despite all the abuse, I’ve only had my scissors sharpened once and they’re still my favourite.
A Little Mind Bend
Sewing teachers tell their students over and over that you can’t use your sewing scissors to cut paper, and students take their word for it. Why do we keep believing what we’ve been told, even if we see no evidence of it? In short, mental habit. Belief perseverance is a phenomenon that parents and marketers use on us all the time. Simply put, the more often we are exposed to statements, the more we tend to believe them. (That’s why you feel like you have to Just Do It if you put on a pair of Nikes.) Anyway, because we have heard the advice to lock up our shears so often, we don’t think to question it. It just is, and we do it. Researchers also call this the “tenacity method” of knowledge acquisition. That is, hanging onto certain ideas and beliefs just because they’ve been labelled as facts and accepted by “everybody” for a long time. People, we have been duped by our own repetition.

Let’s say goodbye to this meme and all her pals.
My Conclusion
We don’t need to keep the good shears under lock and key. The worst thing that can happen to them is that they get lost because, frankly, they do have a lousy sense of direction. It’s ok to cut the pattern paper with them. Just don’t let them migrate into the garage or the kids’ backpacks. (That will be the last time you see them.) You don’t need to dismember your family members for cutting crimes.
I can’t tell anyone not to believe the myth, but I can live dangerously and cut my paper patterns and vinyl bits with my sewing scissors. Whatever you believe, it doesn’t hurt to occasionally have your blades sharpened by a professional — no matter what you use them for. Spread the word that the Good Shears aren’t in any grave danger. Go on and cut something!

PS. If you want to learn more about how we adopt and perpetuate myths despite evidence to the contrary, do a search for the Tenacity Method of Acquiring Knowledge.
Sources
http://www.madehow.com/Volume-3/Scissors.html
http://www.precisionsharpening.net/about_scissors
http://www.newworldencyclopedia.org/entry/Scissors
Tags: fabric scissors, memes, myth, shears
December 7, 2016
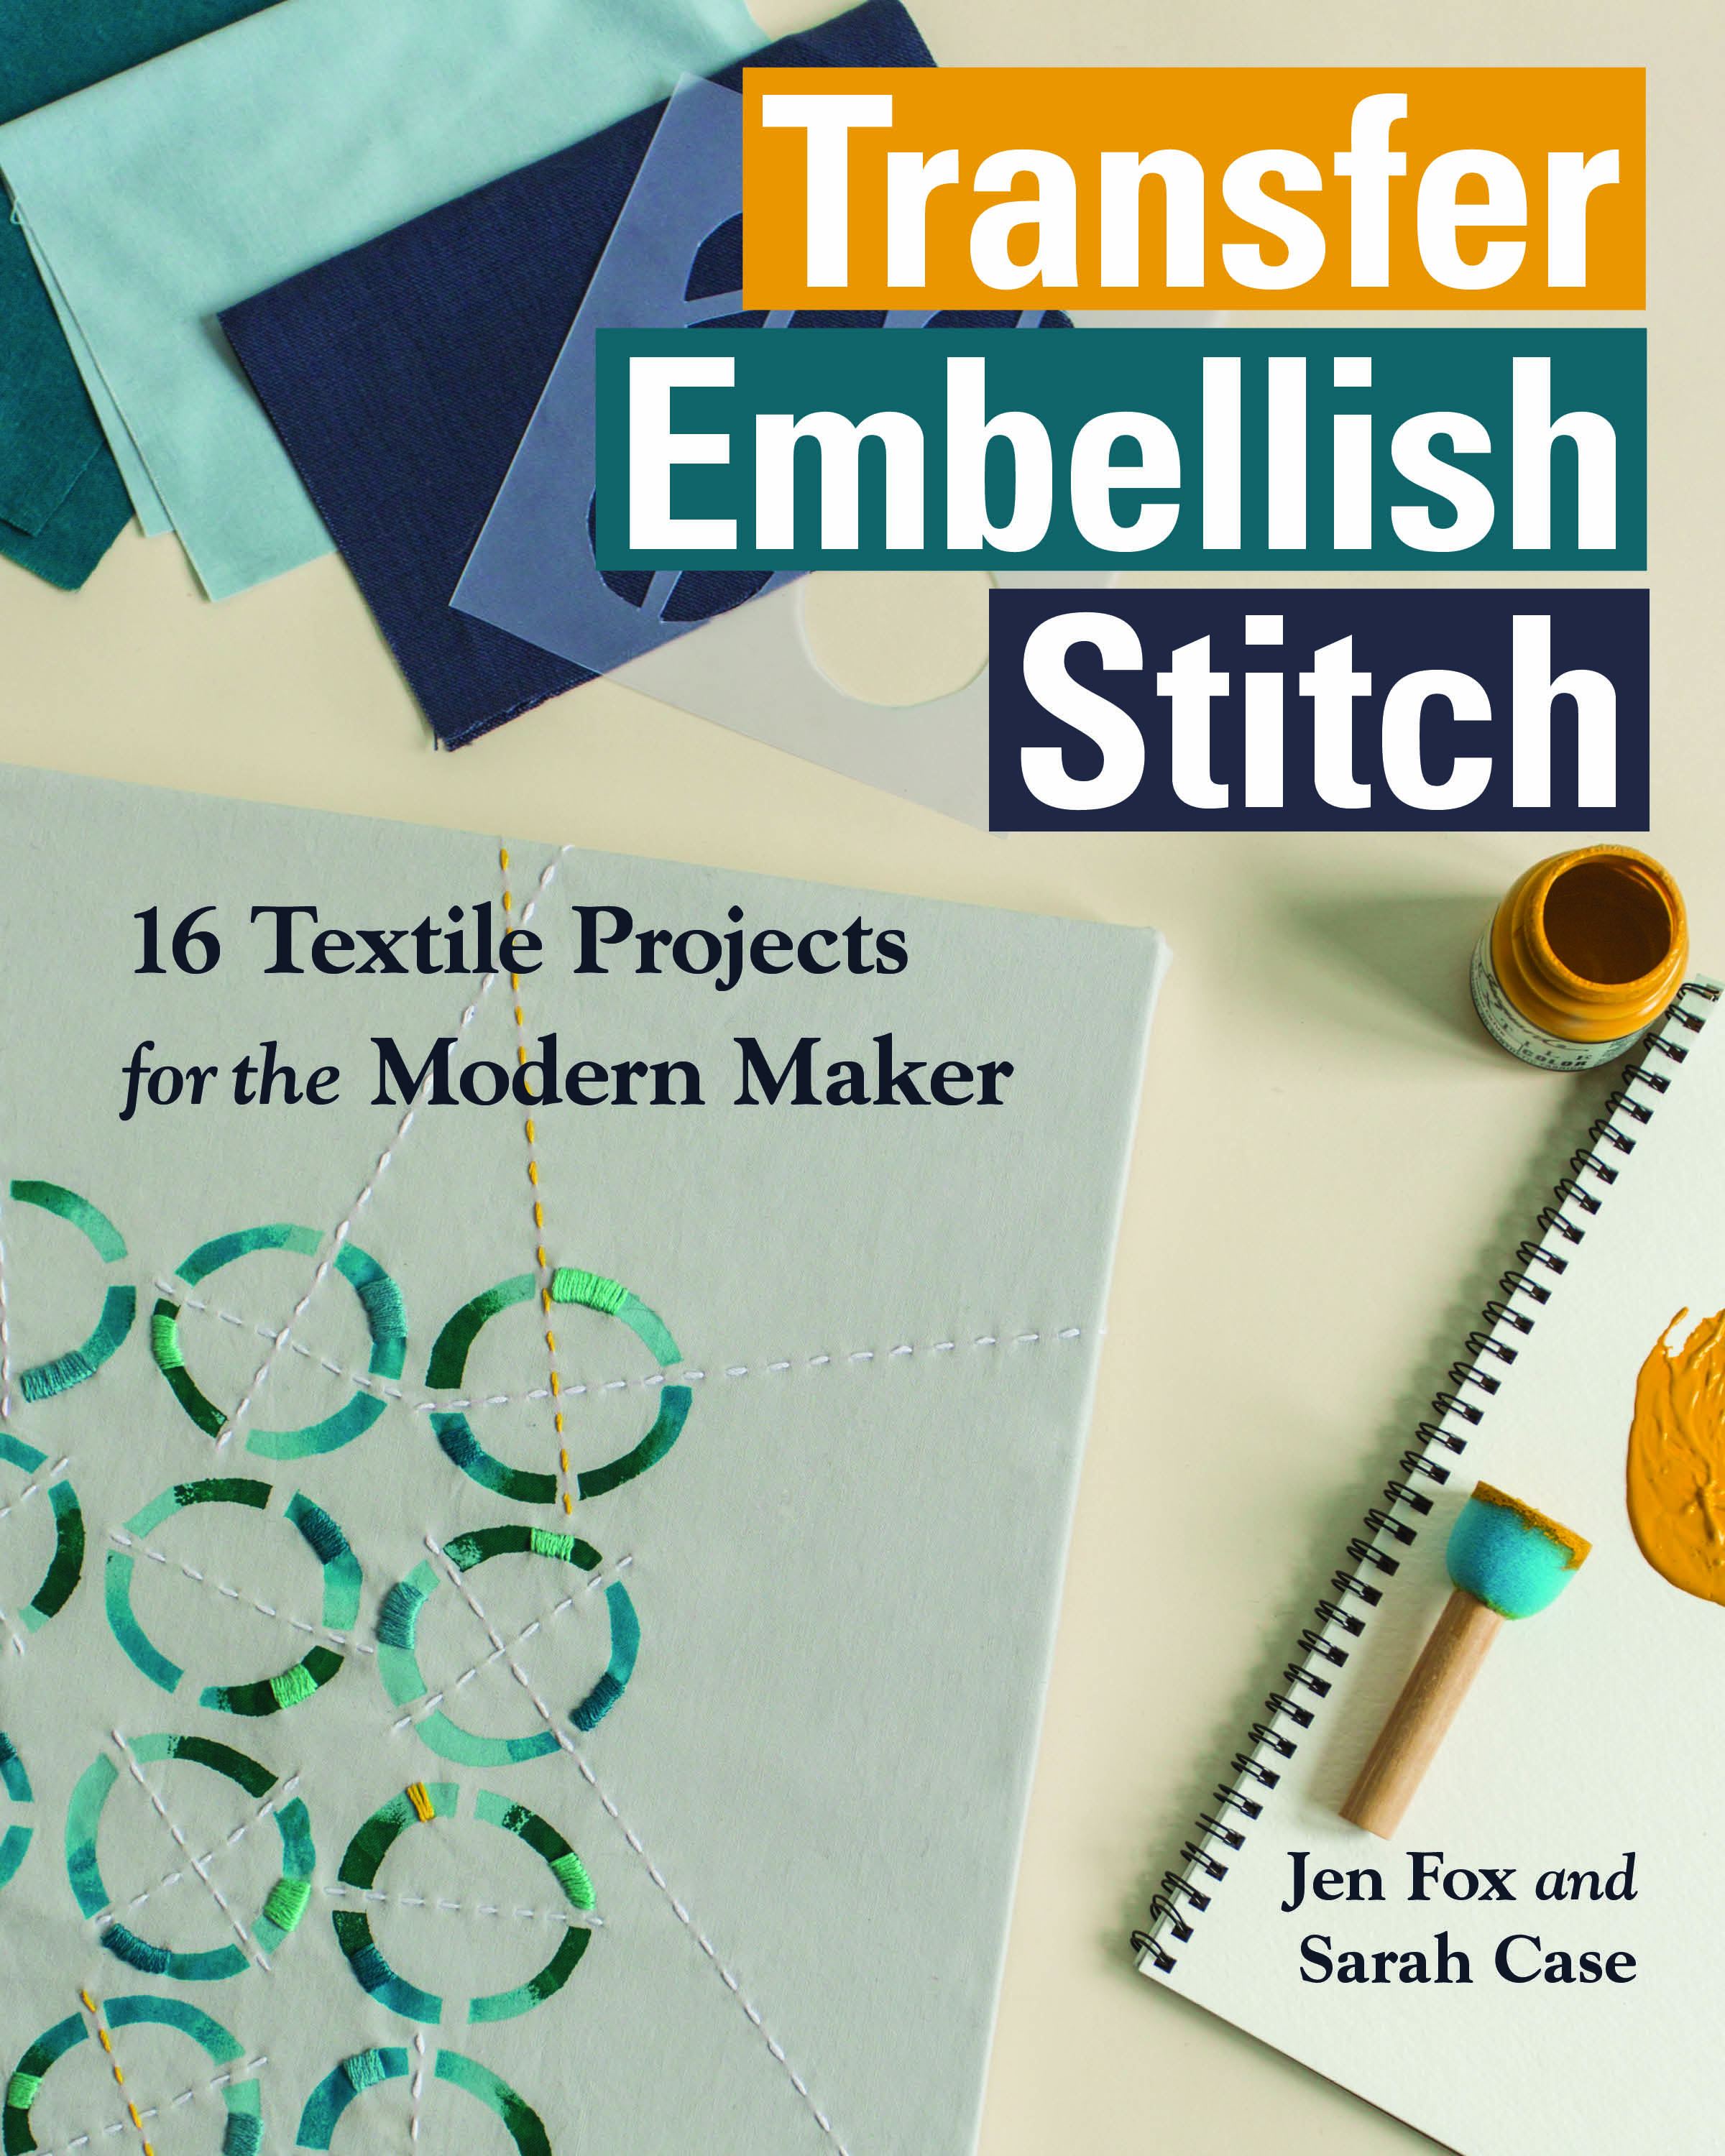
Transfer Embellish Stitch
Greetings, Earthlings,
We have taken your leader. Fear not. We do not intend to destroy your fabric stash, sergers or craft rooms; we only … What do you mean she’s not your leader? … Ok, we’ll do a few tests and toss her back. In the meantime, enjoy…
Jen Fox and Sarah Case here to talk about one of our favorite projects from our new book “Transfer Embellish Stitch: 16 Textile Projects for the Modern Maker“. We are so excited to share this project from the book, which just came out in October with C&T Publishing / Stash Books.

Our book is based on the idea of taking a motif and transferring it onto fabric using a variety of methods (freezer paper stencils, plastic stencils, fusible web, and embroidery transfer paper) and then embellishing the project with a technique such as fabric paint, deColourant, embroidery, appliqué, and reverse appliqué. We provide motifs on a full sized pull out in the back of the book, and we encourage thinking outside the box and mixing and matching the techniques to create a project that is unique to you!

A display of book projects at a local fabric and quilting shop.
Transfer Embellish Stitch has three different categories of projects: Wear, Live, and Give. The storage baskets are in the Give category — they would make such a great gift, either on their own or to hold other gift items as a gift basket. The baskets are so versatile and can be used to corral bath items, small toys, crafts, and more! Think toy cars, balls of yarn, fabric precuts, crafts in progress, socks, hand towels… the list goes on.

The Orbit Storage Basket project from the book Transfer Embellish Stitch.
In the book, we use the “orbit” motif for our baskets. You can use any one of the motifs from the book, or make your own. The orbit motif is repetitive, and can easily be modified to wrap all the way around the basket. Or, choose another motif from the book, and feel free to rearrange elements from the motifs to create your own design, or just use parts and pieces from a motif.

A student makes her own winter themed motif. The top shows her cutting the design out of freezer paper, below is the painted canvas fabric.
The project shows how to make a stencil out of freezer paper. If you haven’t tried this before, it’s an inexpensive and easy way to make a stencil. You trace your design onto the dull paper side of the freezer paper, cut out the pieces to make a stencil, and then iron with the plastic shiny side down on your fabric. The freezer paper sticks to the fabric so that when you paint your motif, the edges stay crisp and clean.


We love the idea of making multiples of the basket and color coding them for different storage needs. You can even get creative with the motifs and make your own custom stencils following the instructions in the book.


Recently, we hosted a class and each person made their own basket. We loved seeing how some people used the motifs we provide in the book exactly, some modified or only used portions of the motifs, and some created their own motifs.
How would you use this storage basket? What motif would you choose, or would you make your own?
Thank you for joining us today to learn about this project from our new book, Transfer Embellish Stitch! You can learn more about us by following the links below.
Instagram:
@case_and_fox @jenfoxstudios @sarahcasedesign
Websites:
www.jenfoxstudios.com
www.sarahcasedesign.com

Hey! what day is it? And why am I feeling so delightfully woozy? … alright, whoever took my amygdala, give it back right now!

PS. Thank you Sara and Jen for this introduction to your book. Love it!
PPS. I’ll be back with my unembellished story of embellishing.
Tags: applique, book, customize, embellishment, embroidery, fabric paint, fabric transfer, freezer paper, stencil
November 29, 2016
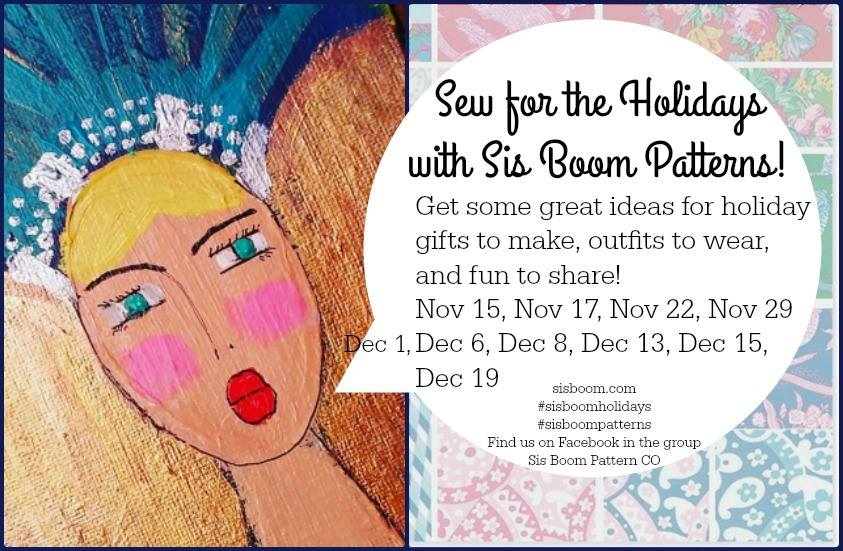
Fancy Pants & Giveaway — Sis Boom Pattern

“He who fails to plan, plans to fail.” (Alan Lakein, Ben Franklin, Churchill, Bob’s grandmother… I dunno who really said it first, but there it is!) And frankly, I don’t buy it. It’s spontaneity that leads to adventures and discoveries.
What exactly does this have to do with sewing, holidays and the Sis Boom pattern company? Hang on. You’ll see.
Tags: Fancy pants, funked, funky, Giveaway, pattern, Sis Boom
November 20, 2016
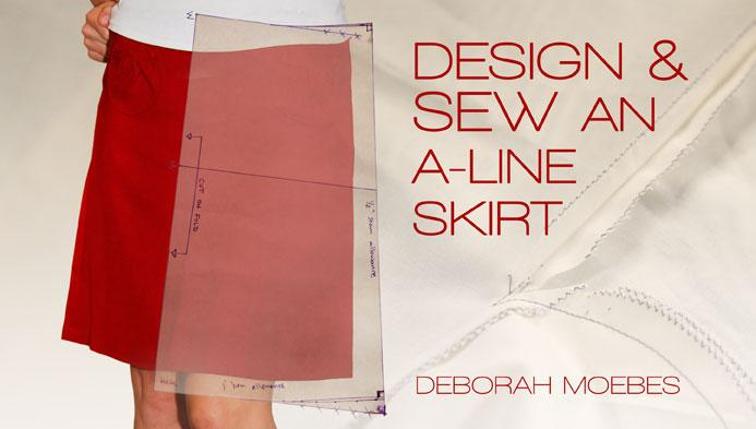
Class Review — Design & Sew an A-Line Skirt

Deadlines will be the death of me. I set them, and relax knowing I have lots of time to get the task done. Then suddenly out of nowhere, I have mere hours left before my project is due. But it’s all fine because I’ve planned out everything in my head so just a quick execution and … right execution. That is how I go out: ambushed and executed by a deadline.
This time around, it was a skirt. I made a deal with two friends to review the same class and post on the same day. We set the date. I watched the class. But did I start the work then? Nope! I started drafting the pattern earlier this week. Here are the reasons I didn’t finish sewing my skirt:
- I got caught up in the drafting phase and took extra time to add this and that to it. Who knew I would love drafting so much?!
- I got to the zipper installation step and found that all those bins of zippers didn’t contain a single colour that would work.
- The cat ate my waistband.
Somewhere under the furniture, there lurks a slimy ball of chewed turquoise fabric just waiting to pounce, so I’ll just sit here with my feet up and get on to my critique of Design and Sew an A-Line Skirt with Deborah Moebes.
FYI, Craftsy didn’t charge me for this particular class. They gave it to me eons ago, hoping I would eventually get around to writing a review.
Whoops! Before I get into my deep thoughts, it might help if you know what kinda cockamamie idea got me in this position. My friend, Michelle who also blogs, suggested we review all the Craftsy classes we have been hoarding accumulating over the years. We would post our reviews on the same day every month.
That was meant to keep us accountable to each other and help us get through those classes before we were both celebrating our centennials (Amer.) or centenaries (Brit.) with bottle bottom glasses and our teeth on the nightstand. She recruited Naomi, and that’s how it all started. Hang with me and I’ll give you their coordinates so you can get their opinions as well. (We all know my opinion is what counts though, right? Right??)

What is Craftsy
Craftsy is, arguably, one of the best and most popular platforms for learning arts, crafts and sewing online. And that’s my totally biased, but genuine opinion. I even belong to a Facebook group for people who are in denial about their addiction to the Cracksy. The classes range from painting and photography to woodworking and metal smithing. Once you buy a class, it’s yours to keep for life. And you have anytime access to watch and review it, as long as you have internet connection. If you take a chance and buy a class and then find that you hate it, you have one month to switch it to another class or get a refund. You can’t tell me that isn’t low, almost negligible, risk!
One other thing: They’ve recently done a little reinventing and are pushing the supplies they sell. That hasn’t been going over too well with the die-hard learners like me. We don’t want to order supplies; we just wanna stuff more knowledge between our ears. Ok, now we can move on to the review…
Instructor: Deborah Moebes
I’m sure it’s her theatre background that makes her just so riveting on camera. I love her energy and how comfortable she is talking to the big glass eye. I kept forgetting that I was watching her onscreen and not in the room with her. She’s certainly not a stand-up comedian so I wasn’t LMAO but she is pretty funny and her language and easy-going style made me grin a lot.
That said, I do have a huge issue and I don’t know who’s getting demerit points for this one. Craftsy promises that the teachers are available in the forum to answer student questions, but our questions are going unanswered unless classmates jump in and help out. I’m all for the group knowledge (hive mind?) experience, but it is disappointing that we can’t interact with Deborah. Is this because she’s abandoned the class? Or did Craftsy forget to tell us that the teachers are only available for a limited time? Whatever the reason, don’t expect to get any answers or advice from Deborah outside of the video lessons.
Minor issues (read as Marsha’s Pet Peeves): It just about drove me batty that she sewed over pins — every time. Aaaaaaghhh!
Class: Design and Sew an A-Line Skirt (Did you forget already?)
As you might guess from the title, this one class covers 2 different skills—pattern drafting and sewing.
Drafting = Math! If you really and truly want to throw up at the thought of algebra and geometry lessons, keep your distance from any drafting class. If you’re only feeling a little squeamish, then go for it. The methods for calculations that Deborah uses in this class are the simplified ones so if you passed Junior High math, you’ll be fine.

Of course simplified means it’s not perfectly accurate and it takes some fiddling and fudging. Don’t fool yourself into expecting the drafting process to be nice and neat. It’s a $%^# mess!

This looks nothing like a skirt
I did have to turn to other resources to make sense of some parts of the lessons. “Squaring Up” had me in a state of bewilderment until I revisited the drafting series on Creative Bug. Until then, I was sliding my ruler up and down, side to side, up and down again, with zero clue as to what I was hoping to accomplish.
The sewing part is really straightforward and unremarkable, except the aforementioned pins. I did use the side seam pocket template à la Liesl Gibson on Creative Bug. I just liked the shape a little better than the template included in the class material.

My overall opinion (mine and mine alone) is that this class is an excellent introduction to drafting custom garments. It’s simple enough that it isn’t intimidating, and it includes enough variations that you don’t need to hack anything. So I’d recommend this to an adventurous beginner who looks at pretty skirts in the store and says, “Pshhh, I can make that!” It also makes sense for an experienced sewist who would like to take a swipe at designing and fitting.

OPO (Other People’s Opinions)
Remember I said that there were other friends in on this adventure? Well, good for you! Because that means you can get 3 opinions before you decide to drop a few pennies on this class. Please, please and pretty please go read what my friends Michelle and Naomi have to say about the class. I’ll be reading too because I have no flippin’ idea what they thought.
Naomi’s post is here on Barely Beige and Michelle’s can be found here on Michelle’s Creations. (I keep wanting to say, “Michelle’s Brags,” but that’s an old joke from April.) Do me a huge favour and go visit them.
You know I gots nuttn but love for my readers — that’s you! I’m off to miss the next deadline. Be well.
Cheers!
PS. Naomi is new at this, so show her some love and follow her blog.
Tags: A-line, craftsy, design, pattern drafting, skirt
October 30, 2016
Maple Skirt — Jacked & Hacked, but Still Gracious
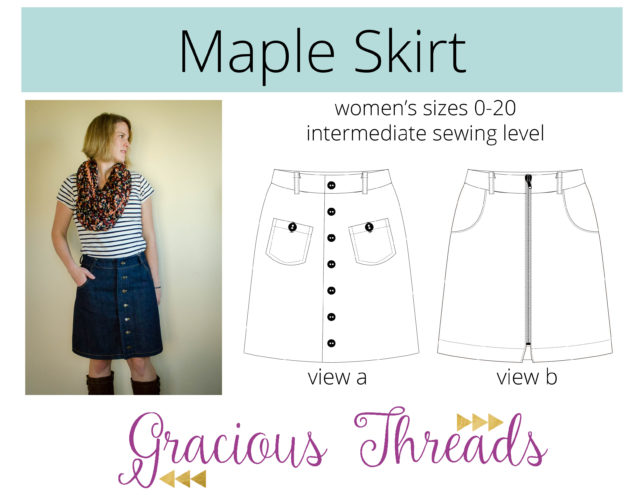

I badly wanted a skirt like this, so I clapped my hands — not so much in glee, but with some trepidation — when I saw Jessica’s post in her Facebook group asking for testers for the adult version of her Maple Skirt. After a couple of disastrous skirt testing experiences the previous few months, I wasn’t sure I should try again. Will I finally get lucky with testing? Or do I give it up once and for all?
[Keep reading to the end for a surprise. FYI, it might also be somewhere in the middle.]
But you know, sucker for punishment and all, I just had to give it another go. I got the pattern, and like a very good tester, I made a muslin/toile following the instructions faithfully. (Do you have any idea how hard that was?) It looked so good when I was finished that I decided to add it to my summer wardrobe — you know the one I’ve been sewing under my bed for the past 5 winters.
During the Canada Cups Tour this summer, I got to know a little about Jessica, a Canadian designer who produces her Gracious Threads patterns out in the middle of Alberta corn fields. Seriously, corn stalks at the backdoor.
To be frank, I didn’t give much thought to Jessica’s patterns because she designs for kids. All my kids are ankle height and furry, so her designs wouldn’t fit them. But Jess recently took the leap to make adult versions of a couple of her popular patterns. That included the girls’ Maple Skirt that she had released during the summer.
As I got started on my final tester version of the skirt, my true nature escaped and took over the project. What I ended up with was a similar garment but with a few minor hacks. It didn’t occur to me until I was quite close to the end that I had subconsciously eliminated most of the horizontal lines and emphasized the vertical ones. See?

The original pattern has top stitching on the top and bottom of the waistband. Not this version!
The Hacks
Darts & Pockets
My muslin had the darts too close to the middle for my perky bottom (HA!), so I moved the darts closer to the sides for this one. Great! On to Step 24. And this is where I realized I forgot to cut out the side pockets on my front pieces. Oh well! Forget the pockets. I can always add patch pockets later if I get the urge.
After a quick fit test, I needed to bring the waist in just a tad more so in went extra darts on both sides. I did have the option of eating extra cake every night to fill it out, but I took the high road for once. I’ll build up slowly with one or two cupcakes.

Two darts for the price of one cupcake
Belt Loops
At Step 25, I had a little accident. Instead of using the pattern piece, I was too lazy to cut it out so I just cut a 15 x 3 rectangle. Except that it was supposed to be 15 x 2, and what I read as 3 on my ruler was really 4, so I ended up with belt loops twice as wide as they should have been. As long as I’d already screwed that up, I might as well put some decorative stitching down the middle. Somehow late at night, I also managed to slice through one of my fancy belt loops, but we won’t go into that.

If you’ve already screwed up, make it pretty.
We Interrupt the Nattering…
Let’s take a short break here to have a little giveaway. Anyone want to win a copy of this fantastic pattern? It really is great!
The instructions are clear, the process is short and fast, the design is simple and very versatile. In fact, the reason I was able to play around with it so much is that it is so very versatile. Some of the other testers have made multiple versions of it already. I intend to, but you can never tell with me. The astonishing thing is that I’ve made two of these skirts, when I have trouble getting through just one of anything else.
All that to say, if you leave a comment below you’ll be entered in a drawing for a PDF copy of the pattern. I’ll use a random number generator to pick a winner on Nov 1 at 6 PM EST. Tell me how you would style or hack this pattern.
Break’s over…
Zipper
Mercifully, I made it through the next few steps without more mishap. And this hack doesn’t qualify as a booboo as much as an experiment. I inserted the zipper upside down. That’s right! That little zippy opens from bottom to top.
Why? you may ask. Well, because I don’t know any woman who unzips her skirt when using the toilet. I can’t be the only one who hikes it up around my waist when I go. If we’re not unzipping to make use of the loo, why not use that zip to create a front split that’s adjustable to our liking? So with some fighting, a few choice words, and a couple of pricks, I got that thing in — bottoms up.

Notice the decorative stitching that draws the eye down centre front?
Whew! I made it to the end of the pattern without straying too far again. Aside from a little fit issue with the way the back drapes over my cheeks, I’d say this is a winner. For some gorgeous styled photos, take a look on Jessica’s blog. (Because taking selfies of myself in a skirt is beyond my limit for self-deprecation.)
Before I go, may I coerce invite you to visit Gracious Threads and pick up your copy of the pattern? It’s on sale this weekend for only $6. Yes, an introductory sale! Go on now, because you know how fast weekends can slip away.
Cheers!
PS. Did you miss the giveaway? Go back and check again.